Before you start the WordPress installation please ensure you've applied a LetsEncrypt SSL certificate (or installed your own EV SSL if you have one) - so that your site will be served over HTTPS.
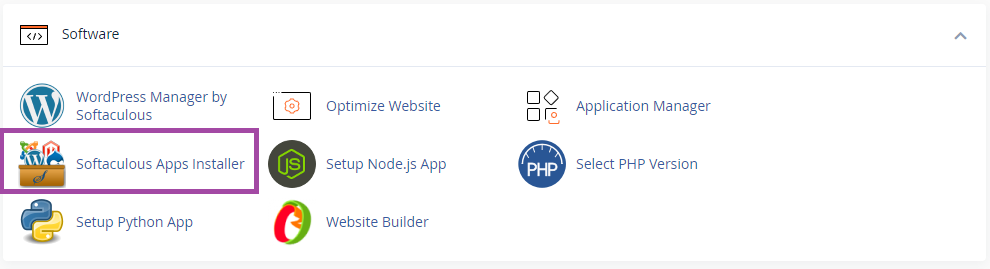
From within your cPanel, scroll down to the SOFTWARE section and click on Softaculous Apps Installer.
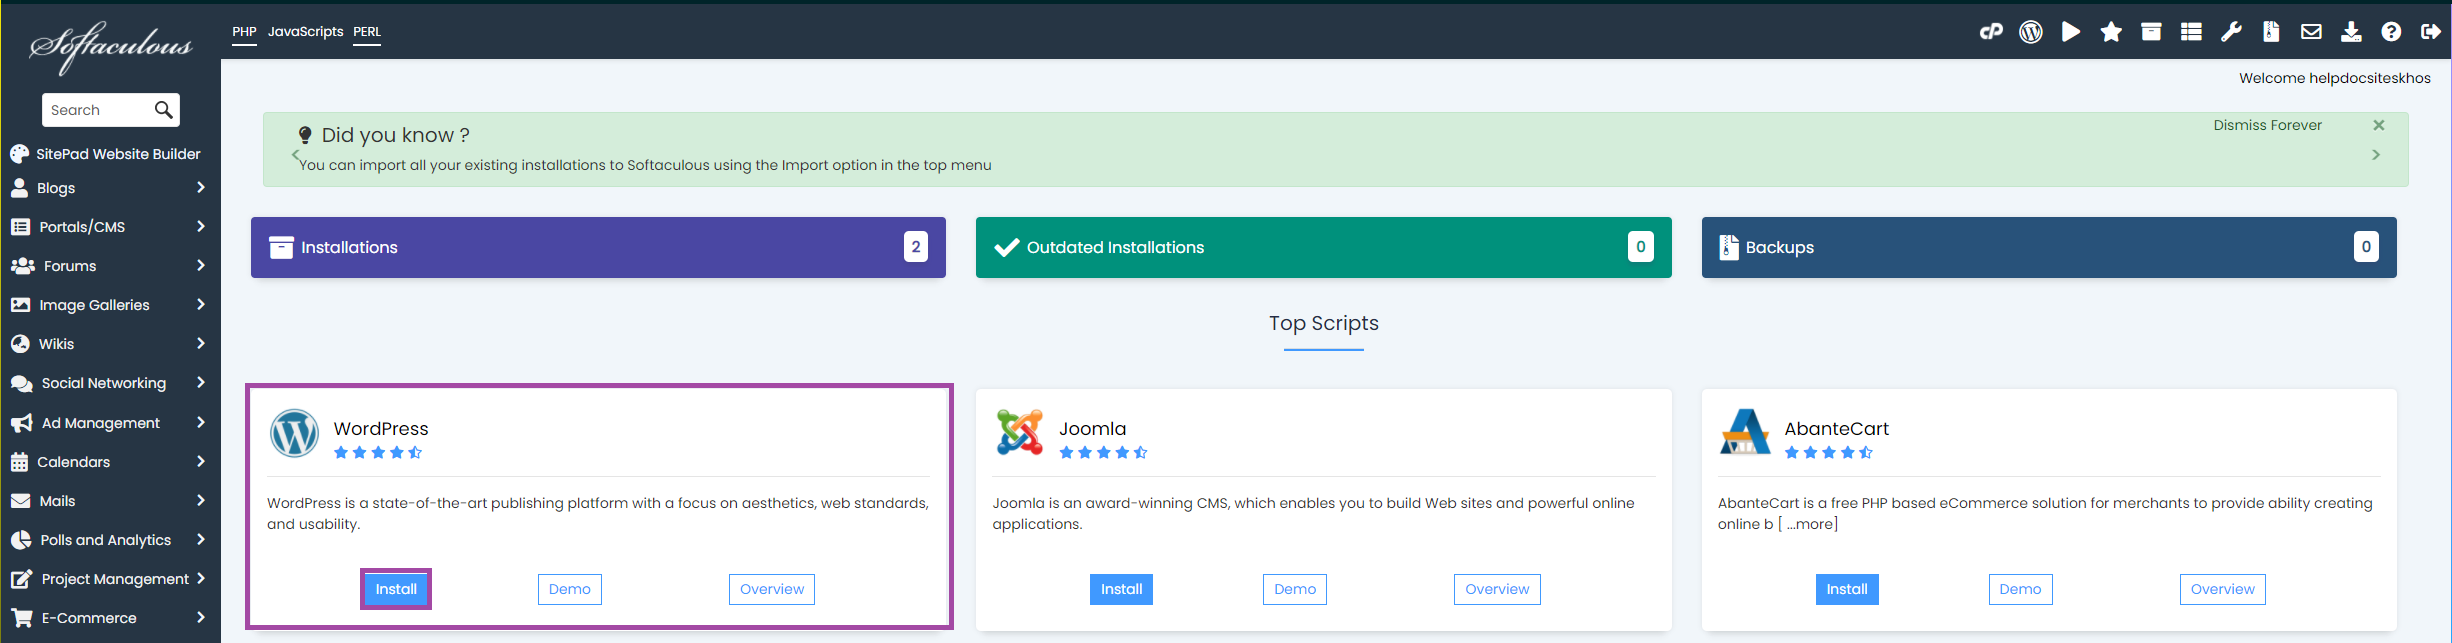
Often WordPress is displayed within the Top Scripts section - just click on the logo - but if not you can type WordPress into the search field and then click it in the list on the left.
Click the Install Now button to continue to the data collection screen.
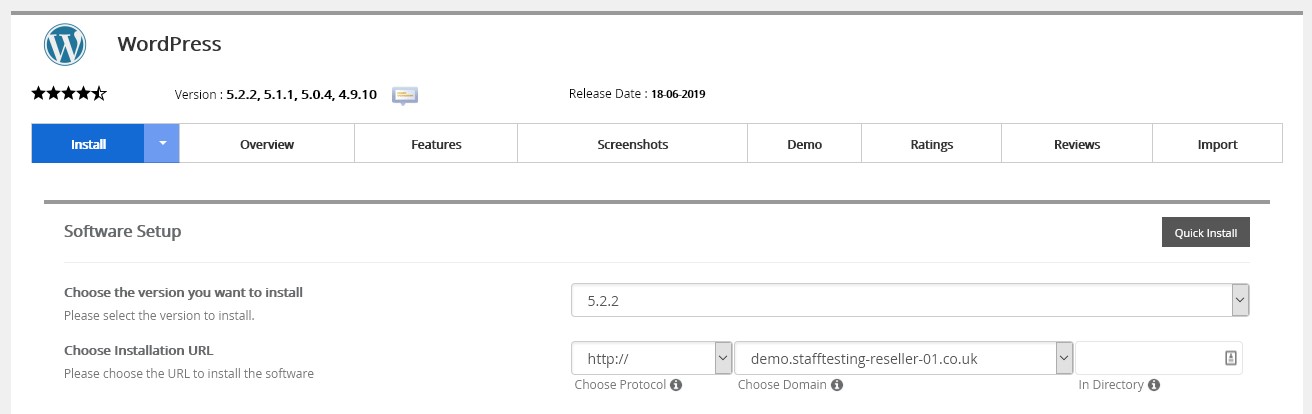
This is quite a long screen, so we will run through it section by section. Software SetupWe always recommend installing the latest version - but if you specifically need a prior version you can select it from the drop-down list. Assuming you have an SSL certificate in place - choose the https:// variant - either with, or without the www. Select the correct domain next. If you specify a Directory your site will be served from there. Example One your domain is example.co.uk you have installed an SSL certificate and you do not want www - so you select https:// you install in a Directory called blog Your site would be served from https://example.co.uk/blog Example Two your domain is example.co.uk you have installed an SSL certificate and you do want www - so you select https:/www. you leave the Directory field blank Your site would be served from https://www.example.co.uk
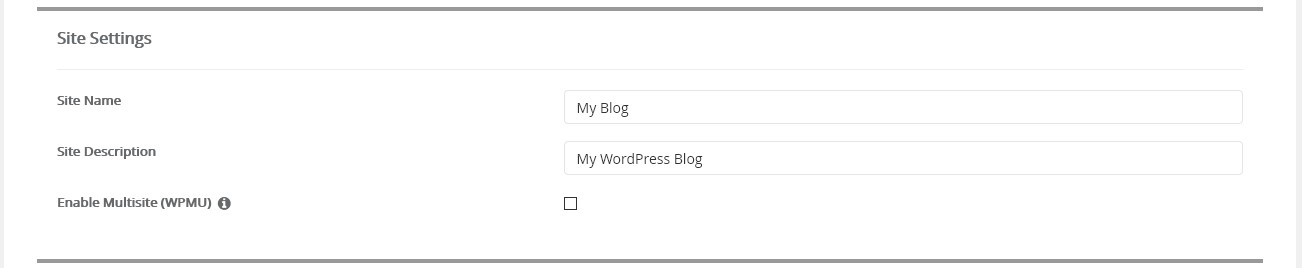
Site SettingsEnter a Site Name and Site Description - these are used throughout your site - they can be altered later within WordPress (Settings > General from the WordPress admin menu).
Admin AccountYou'll find a pre-entered Admin Username & Password We strongly recommend changing the Admin Username from admin - but be sure to only use upper & lowercase letters and numbers (most special characters are not allowed in WordPress usernames). Also, set a strong Admin Password - you can use the key icon to generate a strong password for you. Ensure you note the login details and/or store them in a secure password vault.
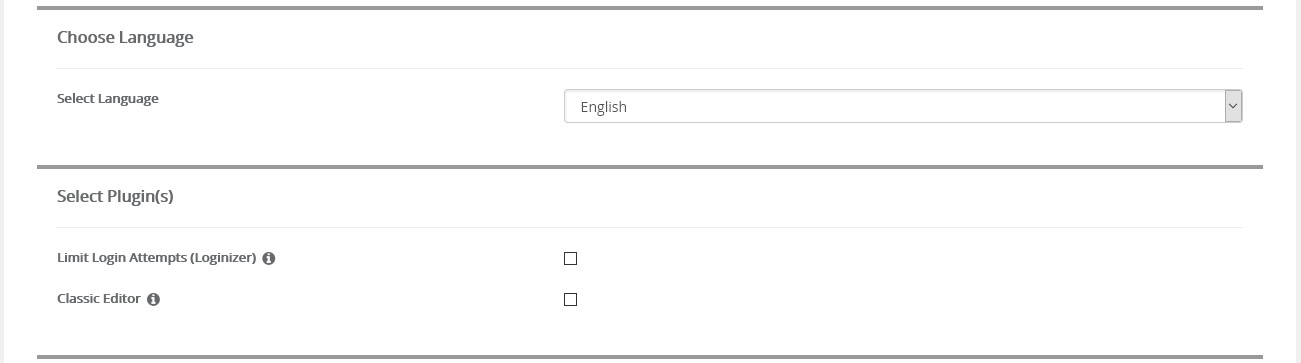
Choose Language & Select Plug-insSelect your Language from the drop-down. You can choose to install either of the additional plug-ins by ticking the boxes if you wish.
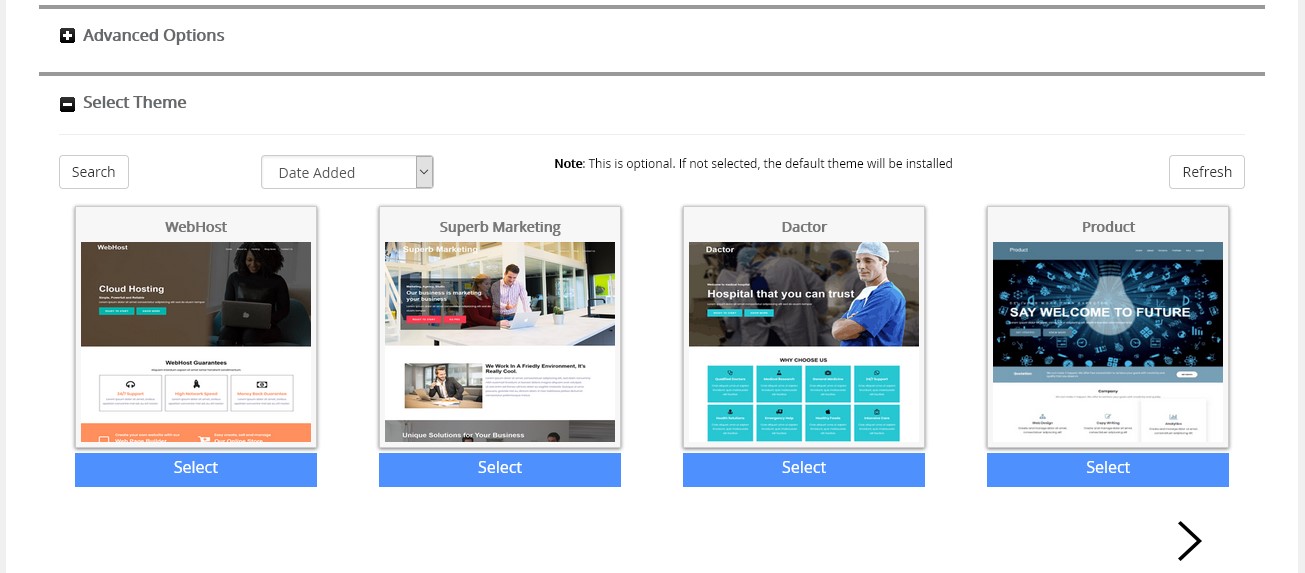
Advanced Options & Select ThemeUnless you know what you're doing and want to either use an existing database or configure Softaculous backups the Advanced Options section can be left as it is. Likewise, you can choose to install a theme from the list selected. WordPress comes with a selection of default themes pre-installed.
InstallBelow the install button, you will see a field where you can enter an email address - this is where the installation details will be emailed upon completion. This is optional. Click the Install button to complete the installation of WordPress.
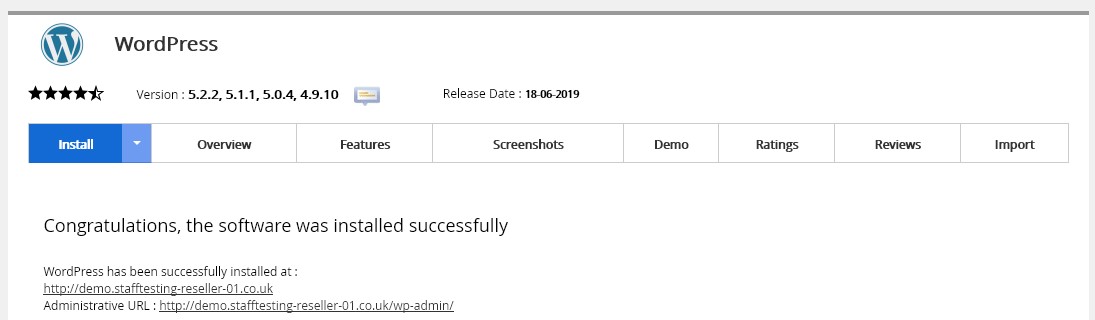
CongratulationsOnce the installation completes you'll see two web addresses. The first is the new site address - click this to view your newly installed site. The second is a link to the WordPress admin login. You'll need your Admin Username and Password to log in here to access your WordPress dashboard.