Jetbackup - Restore or download from your backups

We use JetBackup for our internal system backups and we share these backups with you to enable restoration of files, databases, CRON jobs, DNS Zones, Email, SSL Certificates and your full account. You can also download copies of these backup files.
If you'd like to take ad-hoc backups (which you can also restore from) we have a separate guide all about cPanel Backup and Restore.
We have a separate guide on using JetBackup to restore email accounts and using JetBackup to restore a database.
JetBackup is accessed from within your accounts cPanel, in the Files section or directly through the JetBackup section.
This does not mean your previous backups or data will be lost.
JetBackups are stored on separate backup servers - not directly on your hosting server. When you perform a restore (or generate a download), the data you request is pulled from the backup server to your hosting server before being restored to your hosting account or made available to Download.
Only one set of backup restoration data for your account can be kept on the hosting server at any time. The backup server retains intact version of all your available backup sets at all times. So, if you perform multiple restorations this simply means the new backup data will be copied to the hosting server so you can restore from it to your hosting account (deleting any prior backup data set held on the hosting server).
Full account backup - download or restore
Click the Full Backups icon
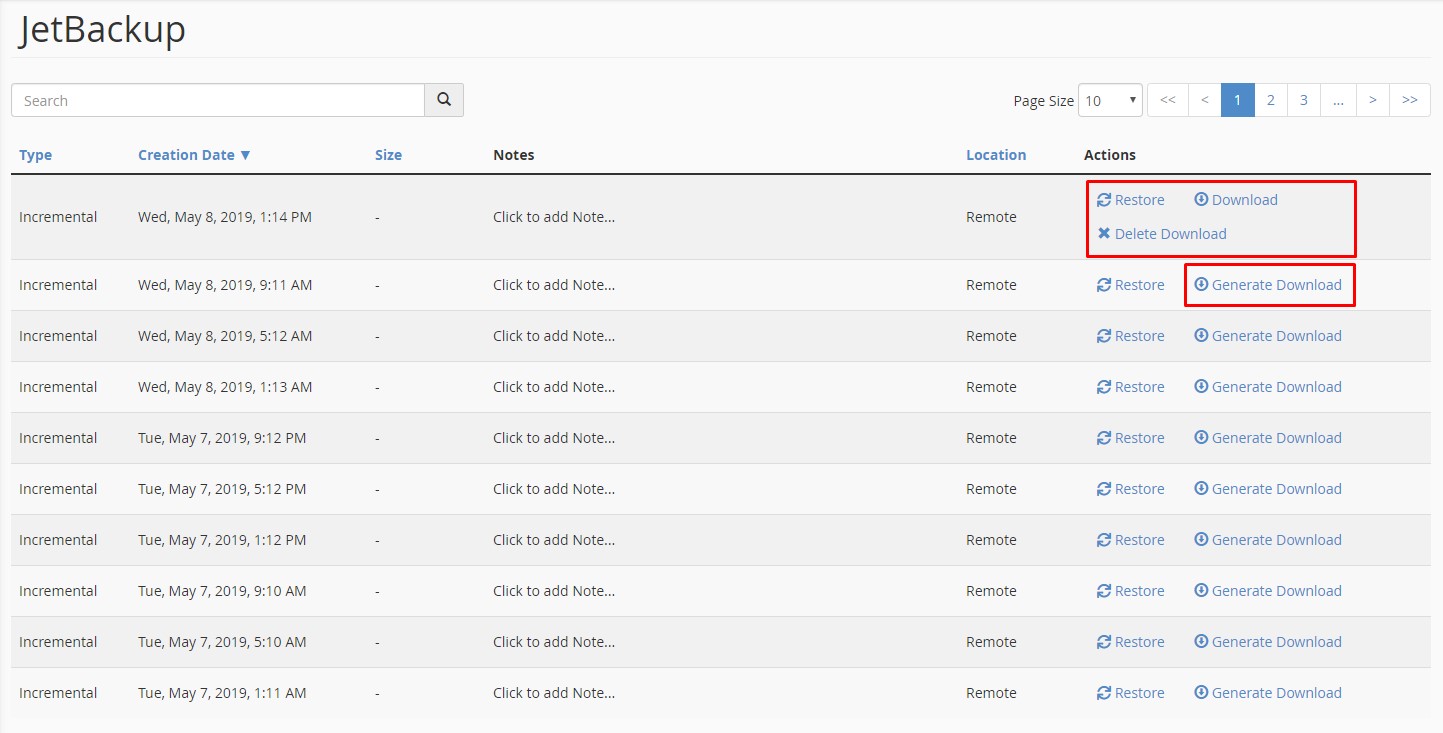
Full account backup - Download
Clicking Generate Download will produce a full backup file of your account ready for download. Once the file has been generated you will see the Download link in place of Generate Download. In the image above the top row has had a download generated and is ready to be downloaded to your local device.
Full account backup - Restore
Click the Restore link net to the time/day you'd like to restore to. Tick the confirmation box and then click Add to Restore Queue. You can view the task queue to see progress of the restore.

File backups - download or restore
To download or restore specific files, click File Backups.
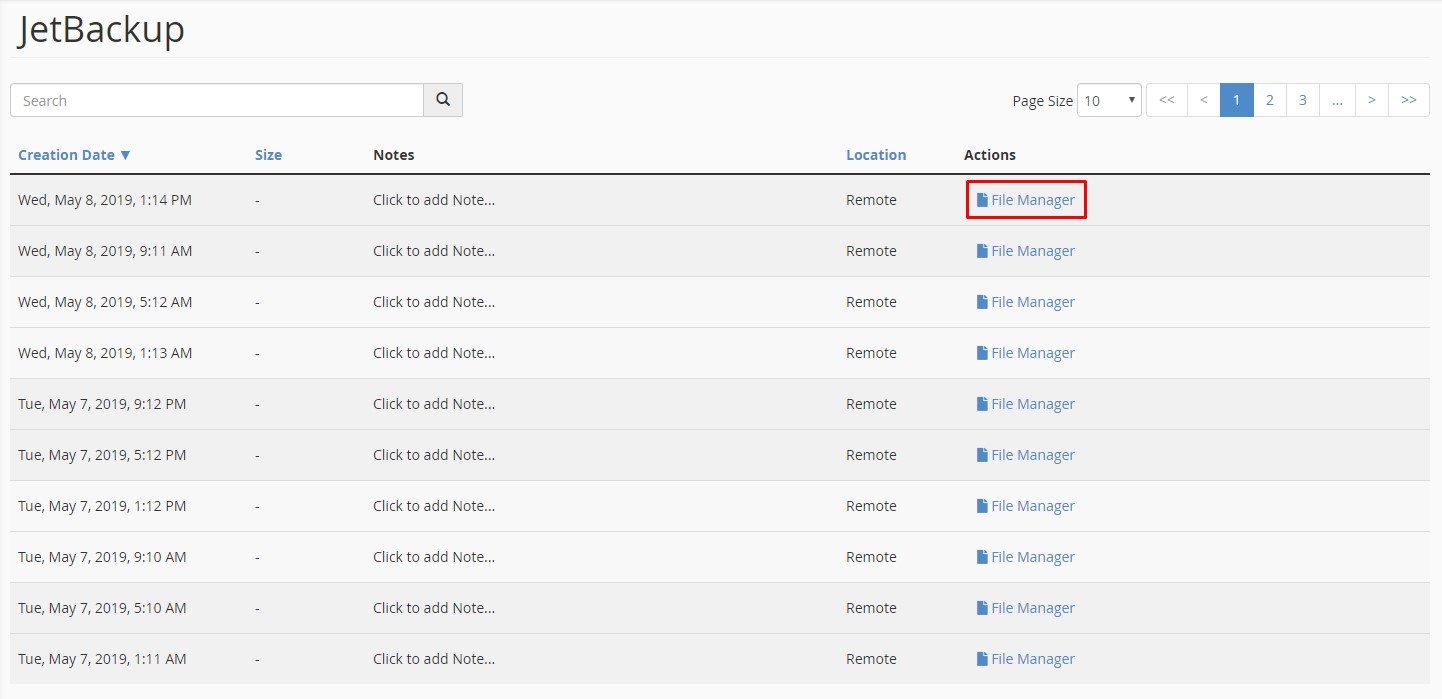
Click the File Manager link next to the backup date you'd like to download or restore from.
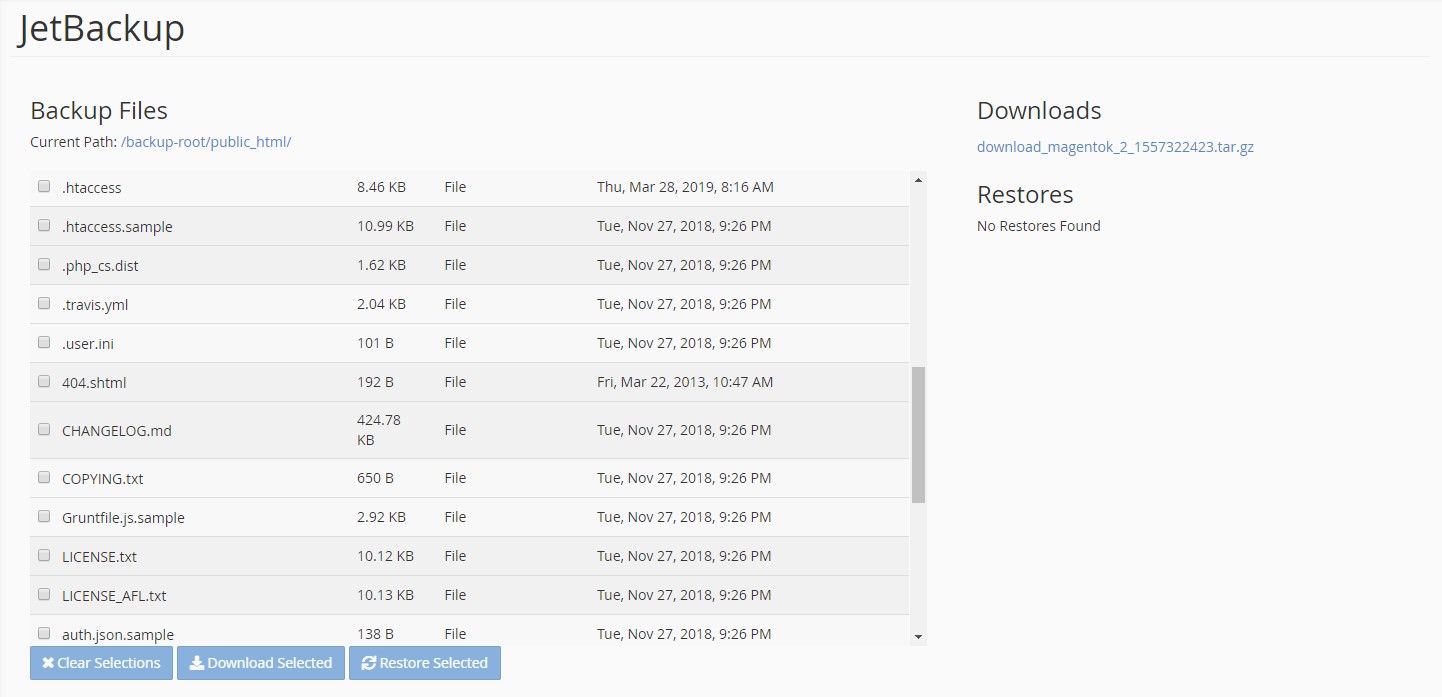
Use the file manager to select files/directories you'd like to restore or download.
File backups - download
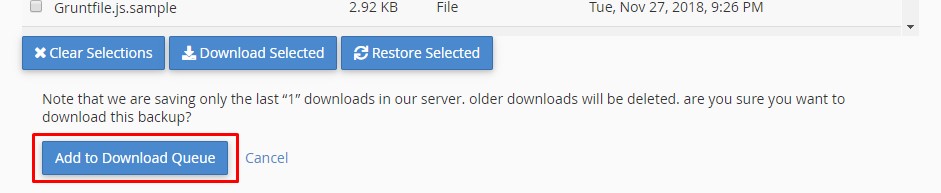
Once you've selected the files and/or directories you require click the Download Selected button.
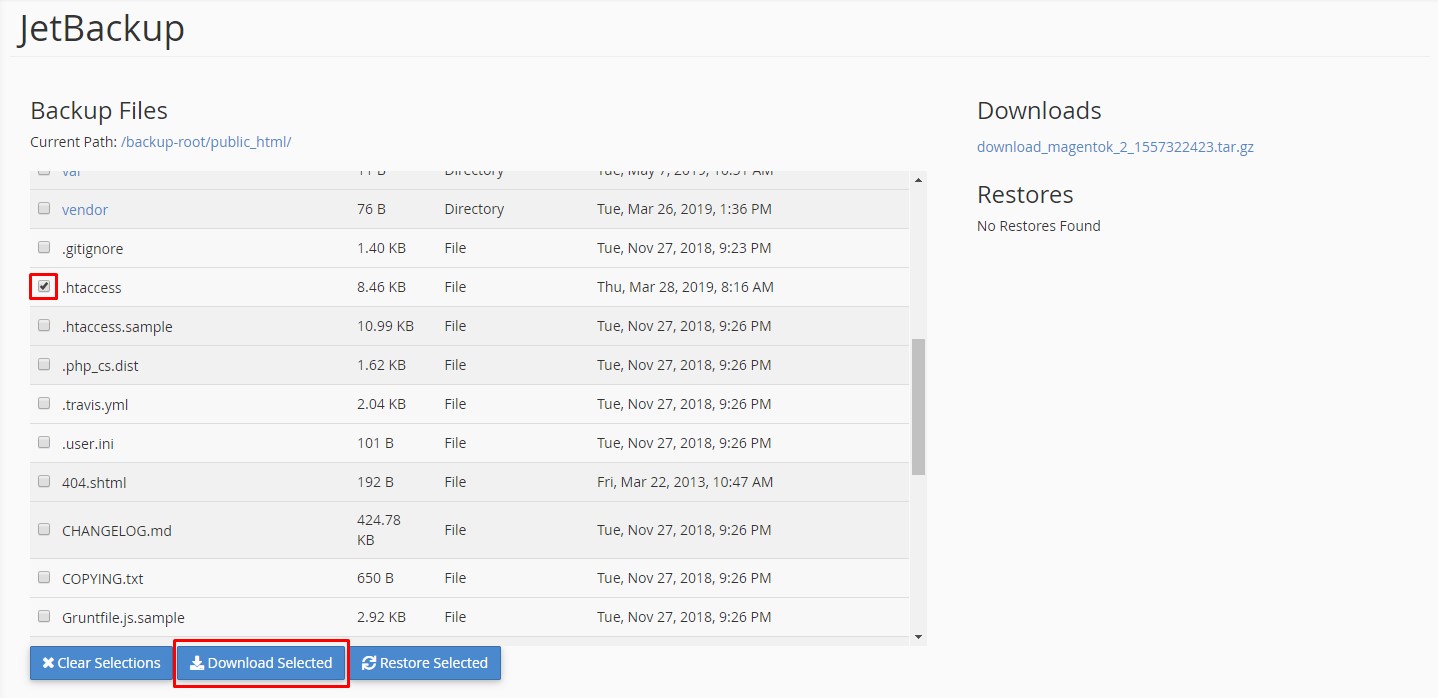
and then click the Add to Download Queue button
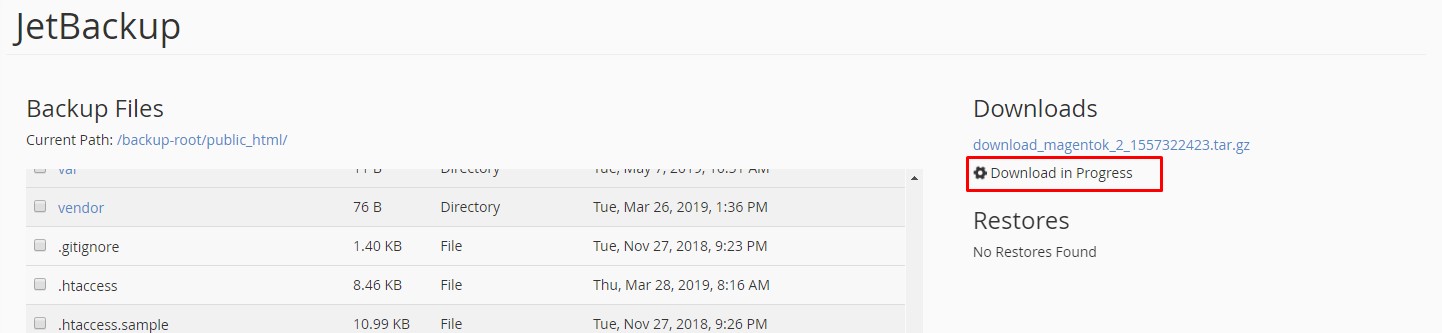
You can see the progress of your tasks either in the task Queue or on the right hand side of the window. Once a download has been generated you'll see a link you can click on to download to your local device.
File backups - restore
As for downloads above, select the files and/or directories you require, and then click the Restore Selected button, tick the confirmation box and then click the Add to Restore Queue button.
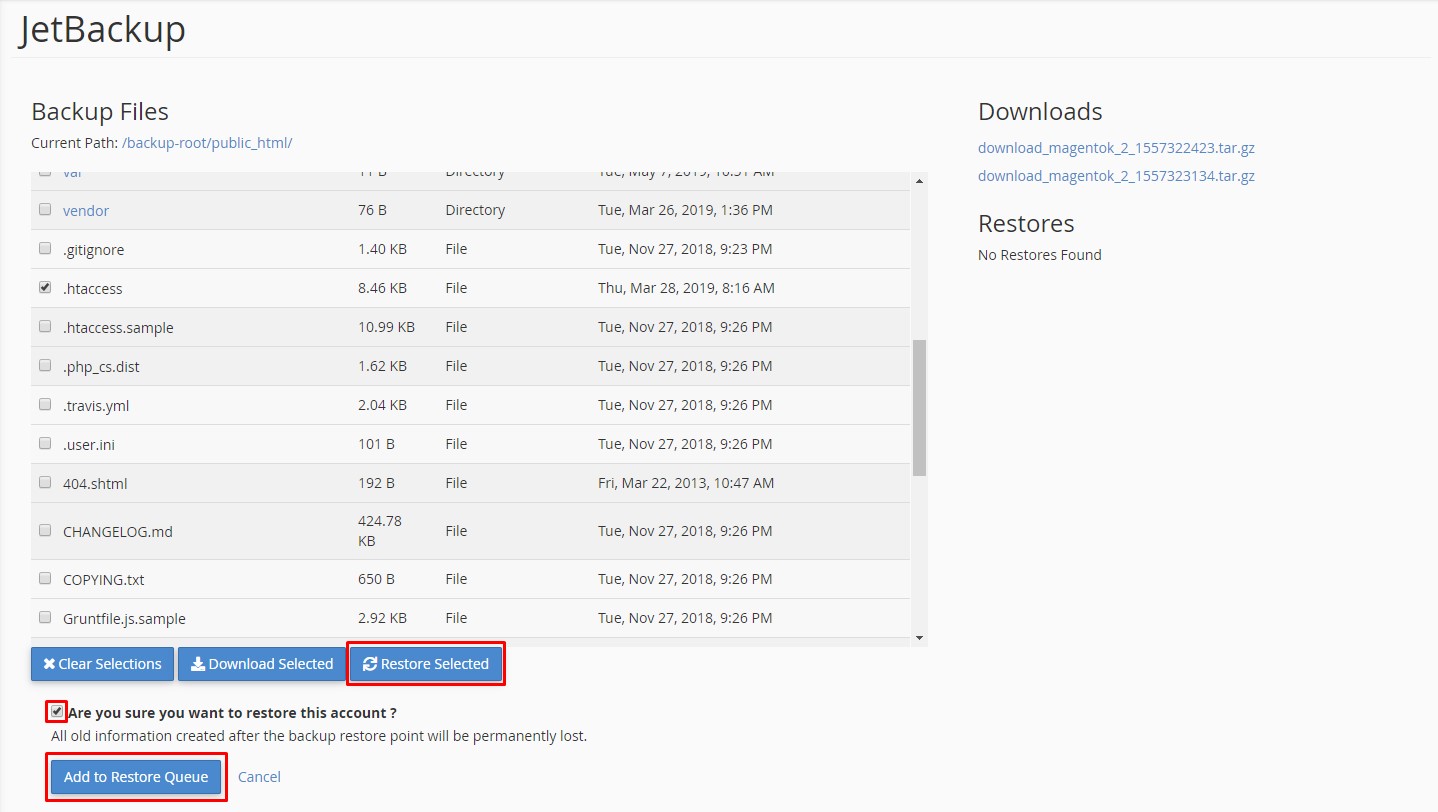
You can see the progress of your tasks either in the task Queue or on the right hand side of the window. This will change to Restore Completed when it's finished.

Restore an email account
Please see our separate guide on using JetBackup to restore an email account.
Restore a database
Please see our separate guide on using JetBackup to restore a database.
Cron Job backups, DNS Zone backups & SSL Certificate backups
All of these elements follow the same process as for file or account restore/download. Simply select the required backup date and choose to Generate Backup for download or to Restore.